Sometimes, what looks like a simple 2D animation can sometimes hide a surprisingly clever technical setup.
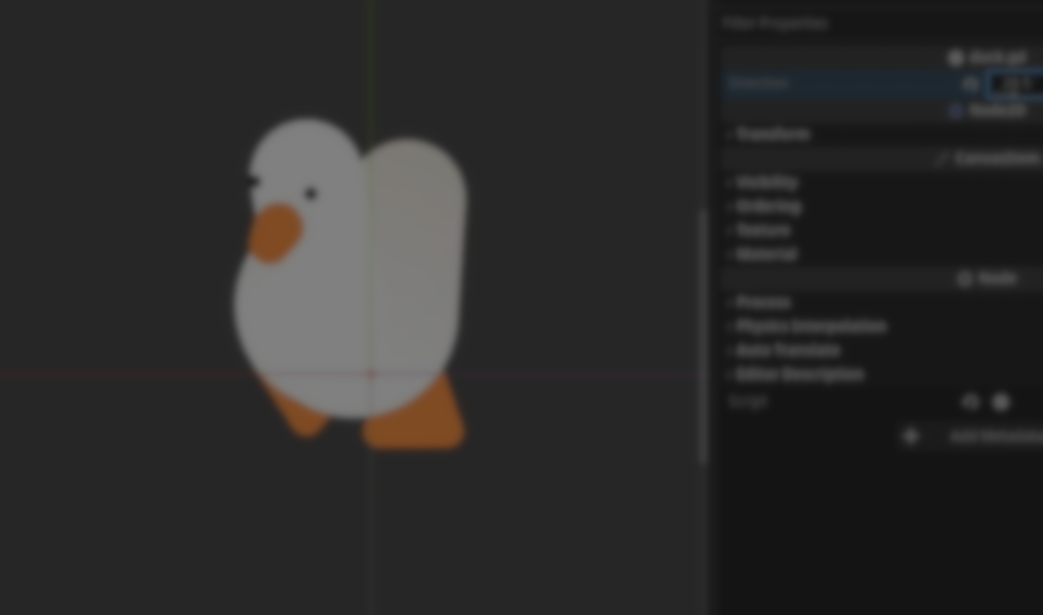
That’s the case with a recent post by @heytibo (Thibaud Goiffon), who shared a cheerful top-down robot made for GDQuest’s upcoming course update. At first glance, it seems like a 3D character rendered in perspective, but it’s actually a smart 2D illusion built entirely inside Godot.
In a follow-up blog post, Heytibo explained how the effect works in detail, outlining the node hierarchy, parenting tricks, and RemoteTransform2D workflow used to simulate depth in a fully 2D scene.
Technique
At the core of Heytibo’s approach is Godot’s node parenting system, which lets child nodes inherit transformations (position, rotation, and scale) from their parents. By structuring these relationships, it’s possible to fake a sense of 3D depth in a flat scene.
Instead of using 3D models, the system relies on two main groups of nodes:
- Visual - contains the sprites that make up the character.
- Rig - a set of Node2D anchors that drive those sprites’ positions and rotations.
Here’s the basic structure he uses:
- SceneRoot (Node2D)
 - Visual (Node2D)
  - PointSprite (Sprite2D)
 - Rig (Node2D)
  - PointAnchor (Node2D)
   - PlaneResult (RemoteTransform2D: Targets the PointSprite node)
Each element plays a specific role:
- Rig controls the overall deformation, scaling its Y-axis flattens or “tilts” the imaginary camera angle.
- PointAnchor defines the elevation of a point in space.
- PlaneResult computes the final position, which is then applied to the corresponding sprite using a RemoteTransform2D node.
This last step is key. By using RemoteTransform2D, Heytibo “escapes” the normal parent transform hierarchy, copying only the final position to the sprite without passing down unwanted scale or skew.
With just a few parameters, the entire rig can be controlled:
- Scaling the Y-axis of the Rig node changes the perceived camera angle.
- Rotating the PointAnchor simulates the character turning.
- Moving the PointAnchor along Y controls elevation.
It’s a minimal but useful system that can represent almost any simple top-down character or creature.
Building the Character
Once the system works, @heytibo applies it to a simple character built from separate sprite parts; in his blog, he uses a duck as an example.
Each body part (body, beak, eyes, feet) follows the same logic: one visual sprite and one rig node connected through a RemoteTransform2D. Some elements like the neck or legs are even drawn dynamically with Line2D nodes, allowing the parts to stretch and deform smoothly.
The final scene setup looks something like this:
- Duck (Node2D)
 - Visual (Node2D)
  - Sprites... (Sprite2D)
 - Rig (Node2D)
  - Anchor (Node2D)
   - PlaneResult (RemoteTransform2D: Targets a sprite node)
This modular setup makes it easy to manipulate each element independently, and since it’s all 2D, performance remains lightweight even with multiple characters onscreen.
The Rotation Logic
With all nodes in place, the rotation system is handled through a small GDScript snippet that updates the angle of each part based on a direction variable.
Before showing the code, here’s what it does:
Before showing the code, here’s what it does:
- Updates every anchor and sprite rotation according to the current direction (in radians).
- Adds slight rotation offsets for the feet, to avoid them aligning too rigidly.
- Changes Z-index values dynamically, ensuring that the character’s head, body, and face render correctly depending on orientation.
Here’s the code @heytibo shared:
# Export a range displayed in degrees, but which uses radians behind the curtains
# Adding a setter to this variable allows us to update everything we need to display the character properly at each angle
@export_range(0.0, 360.0, 0.1, "radians") var direction : float = 0.0 : set = _set_direction

# Declare all the sprites
@onready var foot_sprite_l = %FootSpriteL
@onready var foot_sprite_r = %FootSpriteR
@onready var body_sprite = %BodySprite
@onready var beak_sprite = %BeakSprite

# Declare all the nodes needing rotations
@onready var anchors = [%FootAnchorL, %FootAnchorR, %BodyAnchor, %EyesAnchor, %BeakAnchor, body_sprite, beak_sprite]

func _set_direction(value : float):
	if !is_inside_tree(): return
	direction = value

    # Wrap the direction value to an angle value which will always be between 0.0 and a full rotation (TAU)
	var angle = wrapf(direction, 0.0, TAU)

    # Apply the rotation value to all 2D nodes needing it (anchors and some sprites)
	for anchor in anchors:
		anchor.rotation = angle

    # The sprites for the feet are a bit of an outlier
    # because we also want to add a slight rotation offset so there are not fully alligned with the body
    # so let set it up directly in code while we are at it :)
	foot_sprite_l.rotation = angle + 0.5
	foot_sprite_r.rotation = angle - 0.5
With this, the character’s sprites rotate smoothly in sync with its “imaginary camera,” giving the full illusion of volume and depth, all in 2D.
Why It’s Worth Knowing
This technique is particularly useful in stylized or top-down games where using full 3D models isn’t necessary. It lets you simulate depth and perspective while keeping good performance, and the workflow stays purely 2D.
Because it’s entirely node-based, artists can adjust scale, rotation, or elevation directly in the editor, and no complex shaders or 3D rendering required. It’s a great example of how Godot’s hierarchy and transform system can be pushed creatively for unique visual results.
For those who want to explore the project in more detail, the complete setup is available open source on GitHub.
📘 Interested in learning how effects like this are built in Godot?
Check out The Godot Shaders Bible, a complete guide to creating and optimizing shaders for 2D and 3D games, from basic functions and screen-space effects to advanced compute techniques.
Learn how to do other cool techniques!
We invite you to explore "The Godot Shaders Bible", a comprehensive book on the concepts and fundamentals seen in this post.
Other posts that might interest you.
-
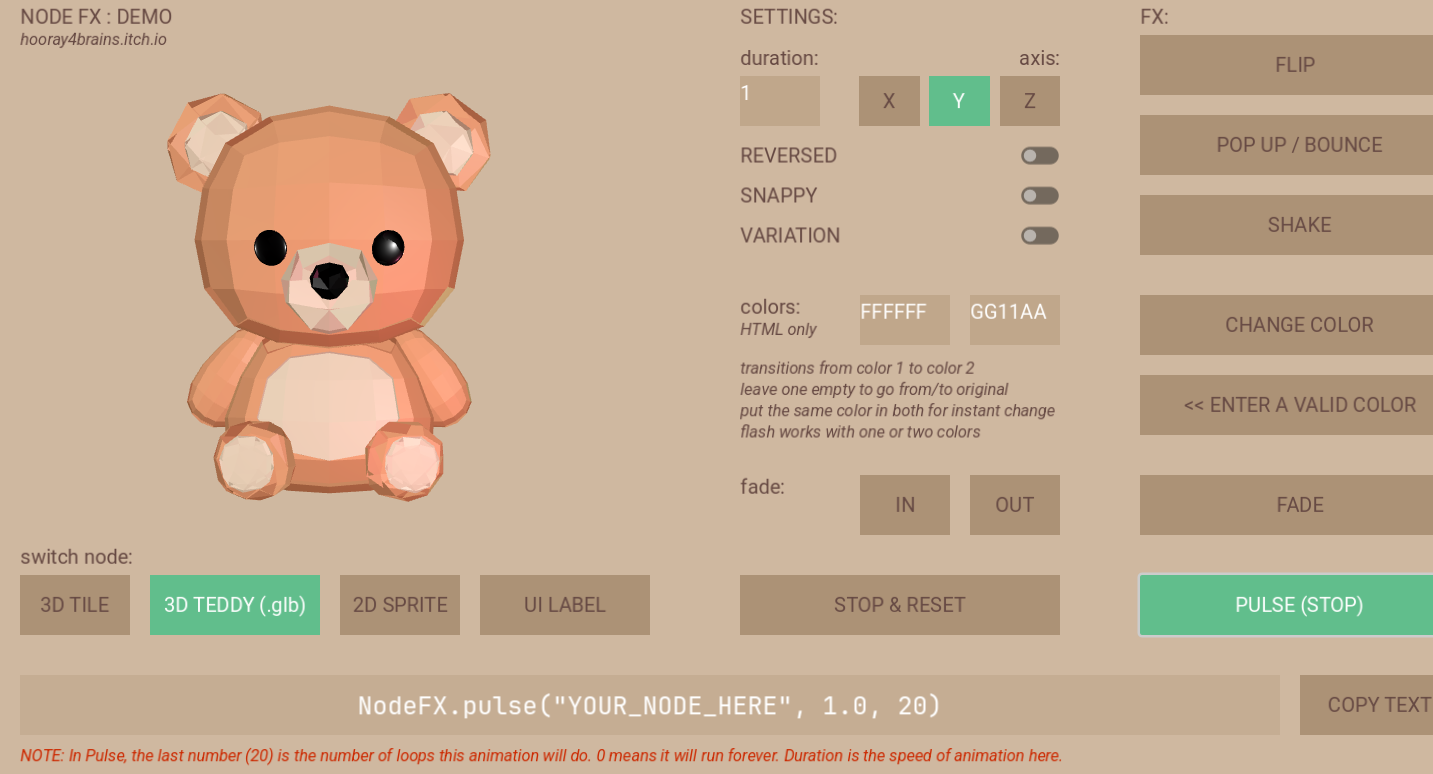 We show a demo/WIP for a library for simple procedural animations with less code.
 -
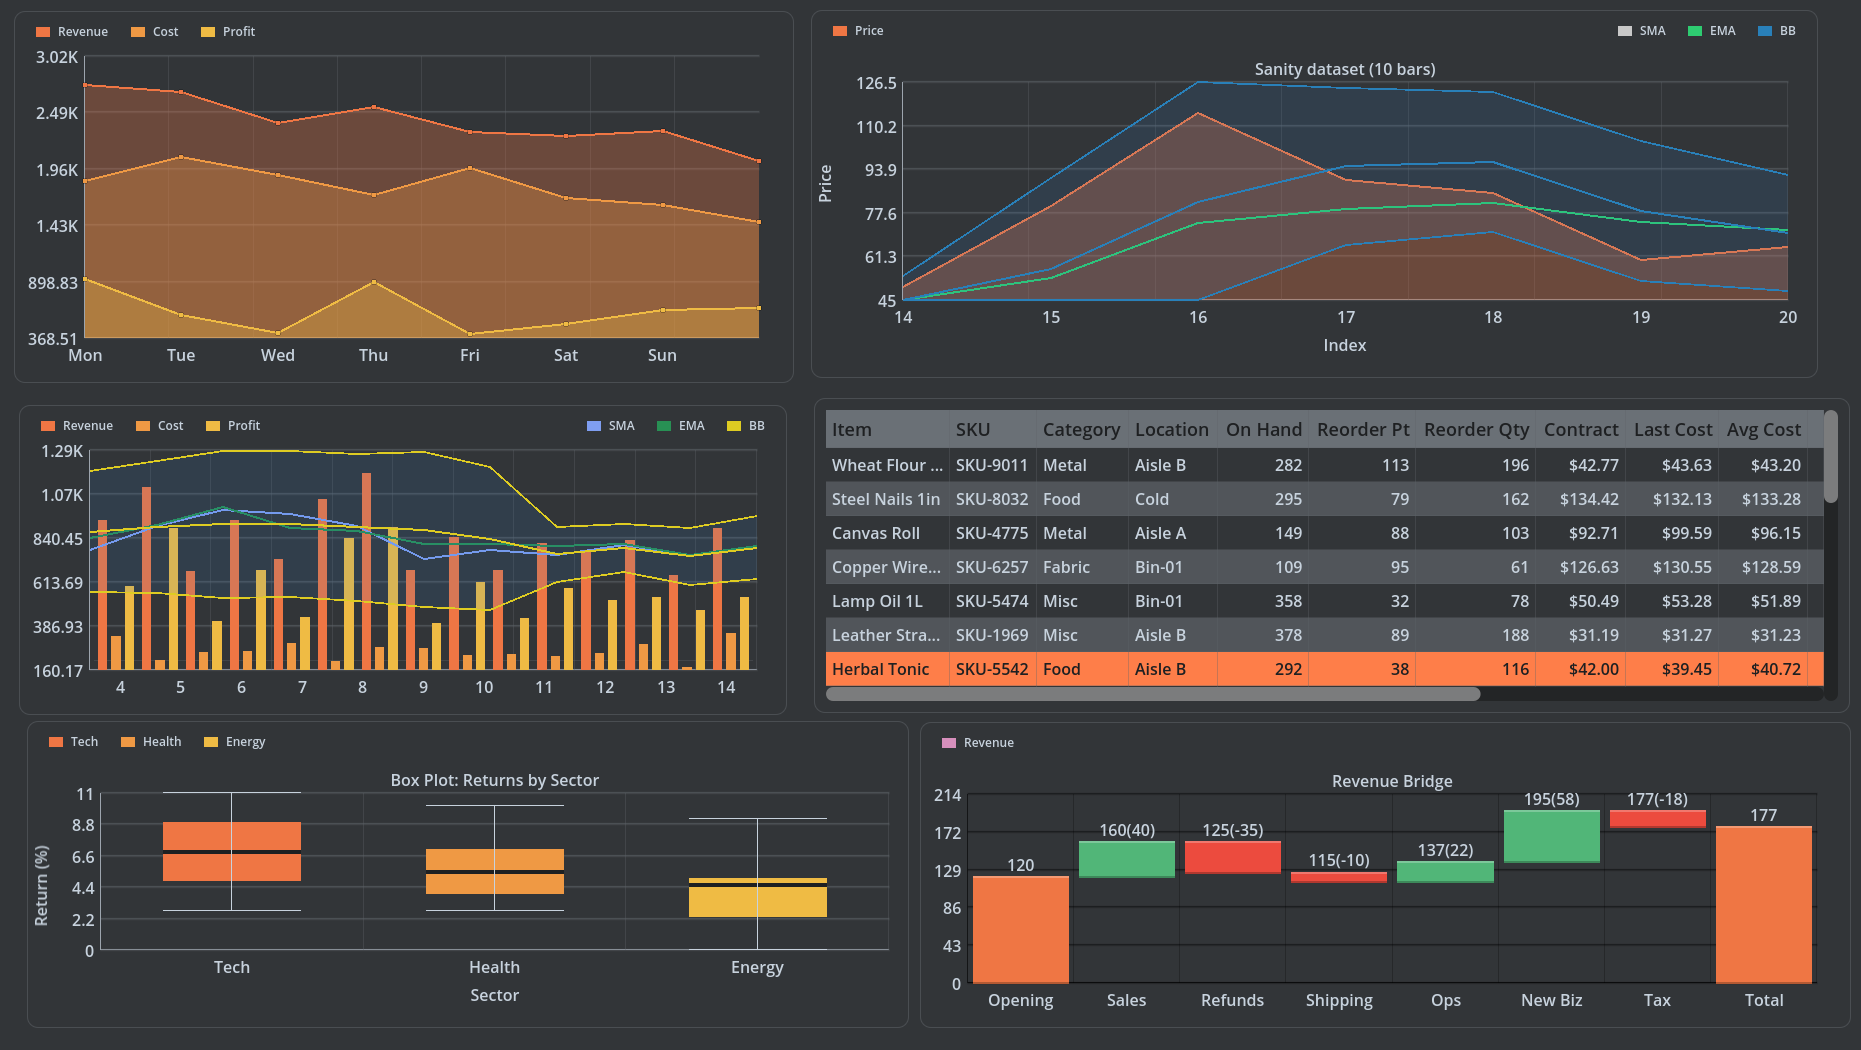 We showcase a paid Godot add-on to add charts, tables and other data visualizers to Godot projects.
 -
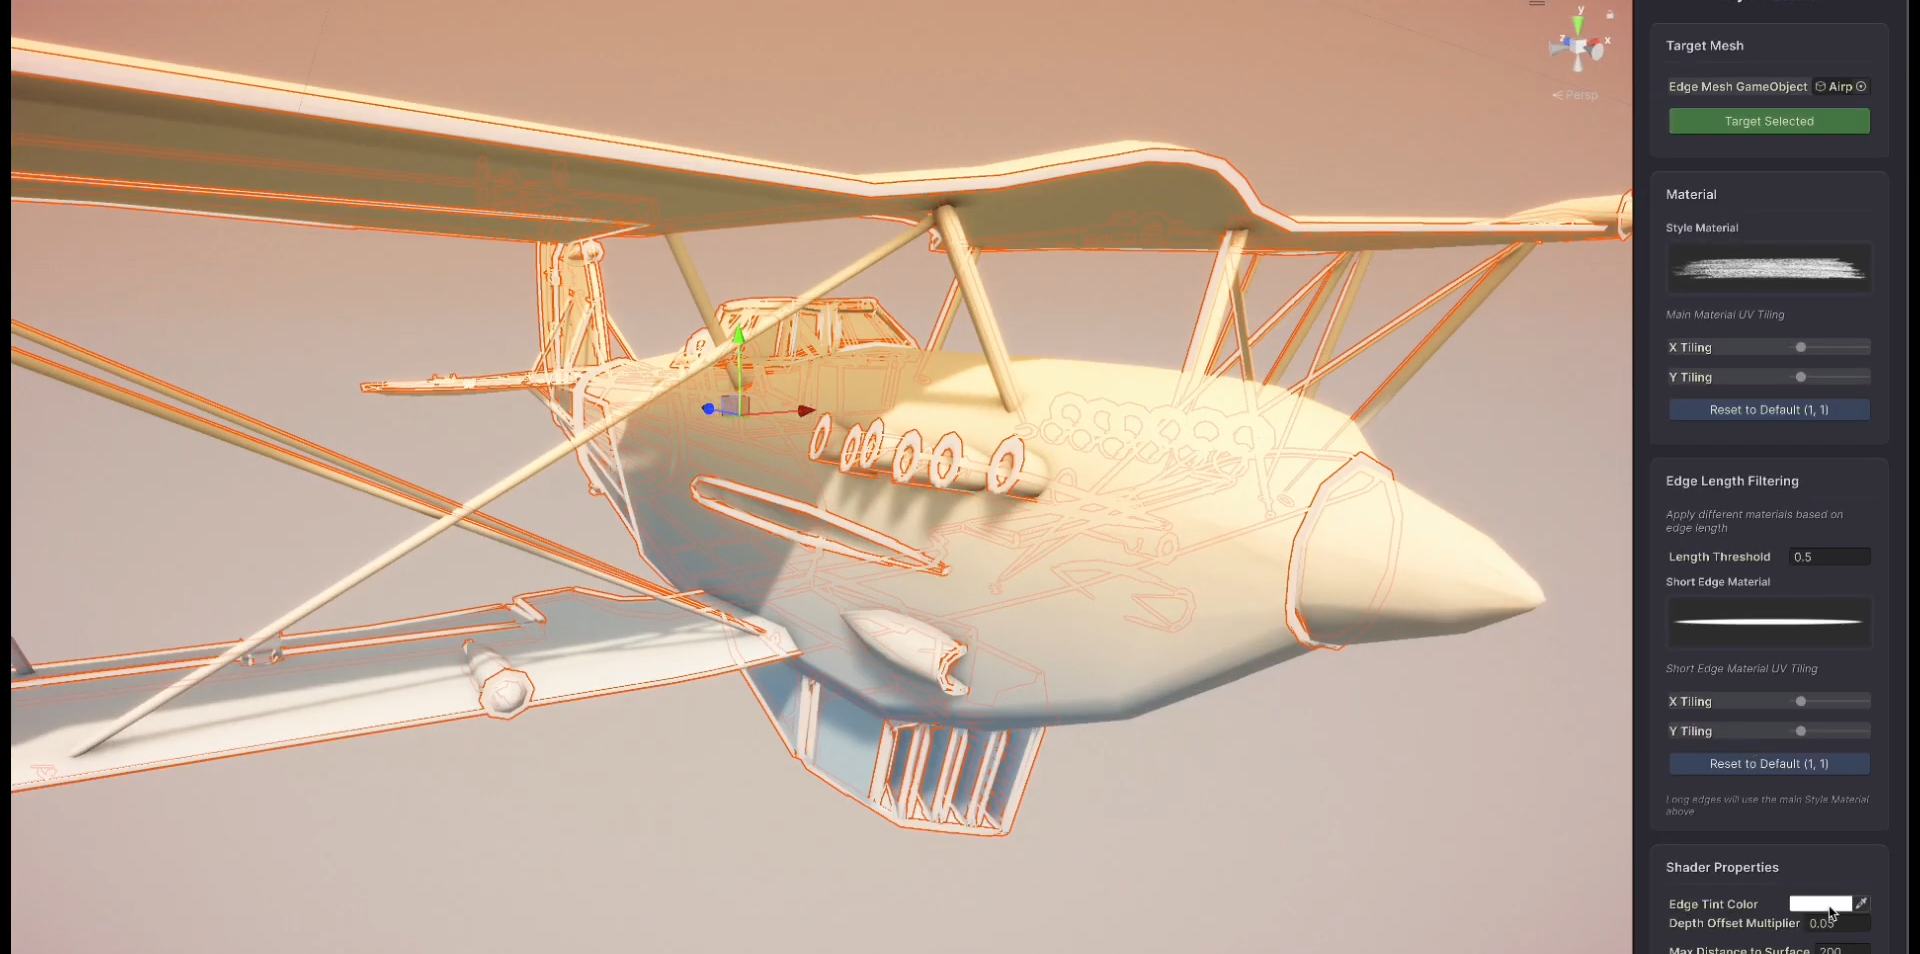 We take a look at a paid Unity add-on to apply a stylized look to game objects directly from the editor.
