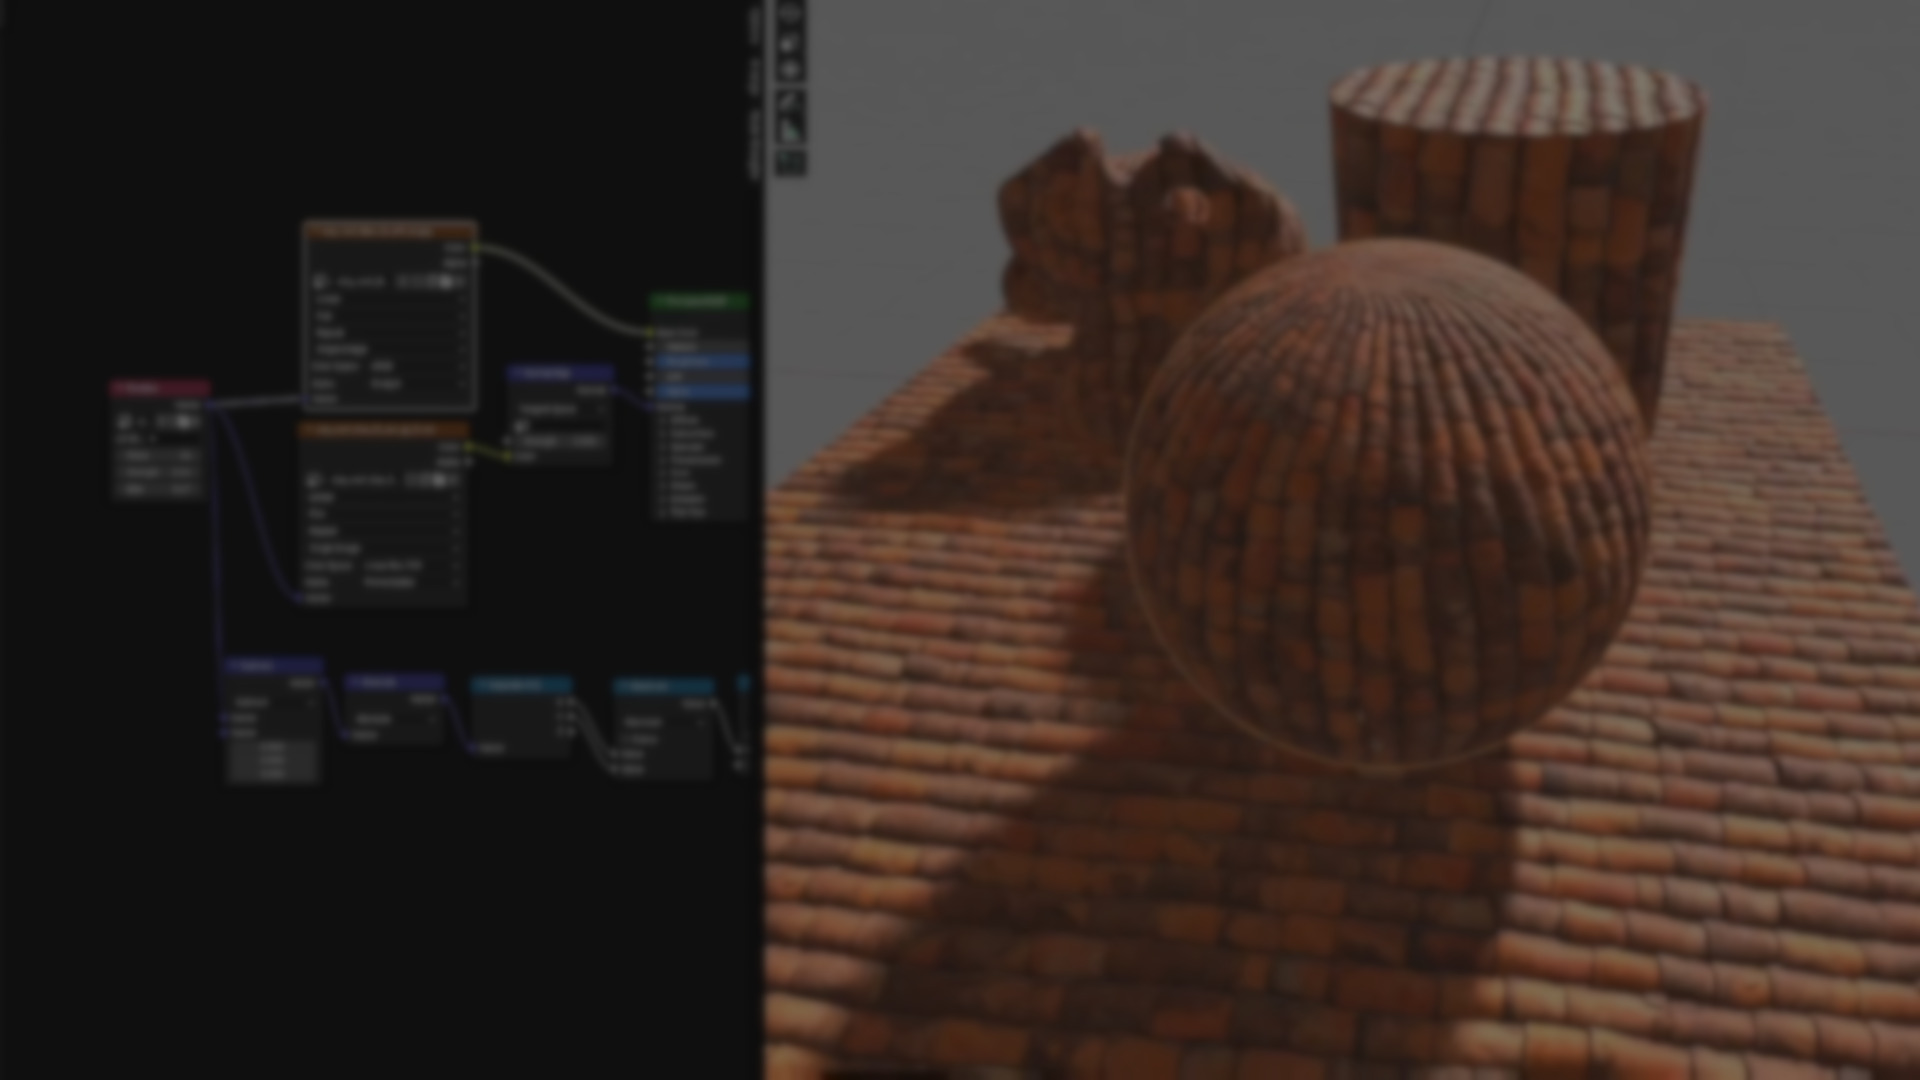
Creating convincing surface depth in Blender often requires complex shader setups or displacement geometry, both of which can be heavy to manage. In this case, Parallax mapping offers a smarter alternative by simulating depth directly in the shader using a height map.
Today we take a look at Parallax Node, a recently released Blender add-on developed by MultLabs, the same team behind Staircase Generator v3, which we previously featured in a post.
Parallax Node is a Blender add-on that simplifies the use of parallax mapping by introducing a single, custom shader node. Instead of building complex node groups, it lets you control height maps, step count, strength, and bias directly from one interface.
It works in both Cycles and EEVEE with real-time preview support and compatibility for multiple UV maps, making it easier to add depth and surface detail while keeping shaders efficient.
Main Features
- Custom Parallax Node
Implements parallax mapping through a single, easy-to-use node that replaces the need for large, complex node groups.
- Configurable Parameters
Adjust iteration count, strength, and bias to fine-tune depth and performance directly within the Shader Editor.
- Height Map Integration
Includes its own elevation input for accurate depth simulation based on texture data.
- UV Map Support
Works with multiple UV layers, giving artists flexibility when applying parallax effects to complex materials.
- Real-Time Preview
Compatible with both Cycles and EEVEE, providing instant visual feedback for faster iteration and refinement.

Also, the Parallax node offers several adjustable parameters that define how the depth effect behaves and looks.
Node Parameters
- Elevation Image – The height or displacement map that drives the surface relief.
- UV Map – Lets you choose which UV layer to use when working with multiple UVs.
- Steps – Controls the number of iterations (1–64). Higher values increase quality but reduce performance.
- Strength – Adjusts how pronounced the parallax effect appears (0.0–100.0).
- Bias – Fine-tunes the texture offset for more precise height mapping (0.0–2.0).
If you want to explore the complete documentation, usage examples, and technical details, we recommend checking out the official documentation linked below.
Some Useful Similar Add-ons
- Easy Parallax - A Blender add-on that automatically converts existing materials into Parallax Occlusion Mapping (POM) shaders. It focuses on quick setup and ease of use, making it possible to add realistic surface depth to any material with just a few clicks.
Unlike Parallax Node, it doesn’t use a dedicated custom node but instead rebuilds the material network automatically, offering less manual control but faster setup.
- POMster (Parallax Occlusion Mapping Add-on) - An open-source add-on that offers both shader-only and geometry-based parallax methods. It can generate additional shell geometry for more accurate shading at grazing angles and supports both Cycles and EEVEE.
Compared to Parallax Node, POMster provides more technical flexibility, but its dual shader–geometry system can make it heavier and more complex to integrate into simple materials.
- POMegranate - A node-based setup that allows layered Parallax Occlusion Mapping with customizable lighting and texture depth. It’s ideal for users who enjoy detailed shader graph editing.
Unlike Parallax Node, which simplifies everything into a single compact node, POMegranate relies on a multi-node structure, offering greater flexibility at the cost of speed and simplicity.
- Super Parallax - An older add-on that simulates parallax effects through UV coordinate distortion. It works on curved surfaces and supports silhouettes, offering decent results for stylized and realistic scenes.
Parallax Node, on the other hand, provides a more modern, single-node implementation that performs better in newer Blender versions and real-time workflows.
✨ You can find the Parallax Node add-on on Blender Extensions.
📘 Want to build your own Blender tools? Check out Blender Tool Development Fundamentals, a complete guide to creating custom operators, UI extensions, gizmos, and Qt widgets for advanced add-on development.
📘 Want to build your own Blender tools? Check out Blender Tool Development Fundamentals, a complete guide to creating custom operators, UI extensions, gizmos, and Qt widgets for advanced add-on development.
Check out our new book!
We invite you to explore "Blender Tool Development Fundamentals", a comprehensive book on the concepts and fundamentals seen in this post.
Other posts that might interest you.
-
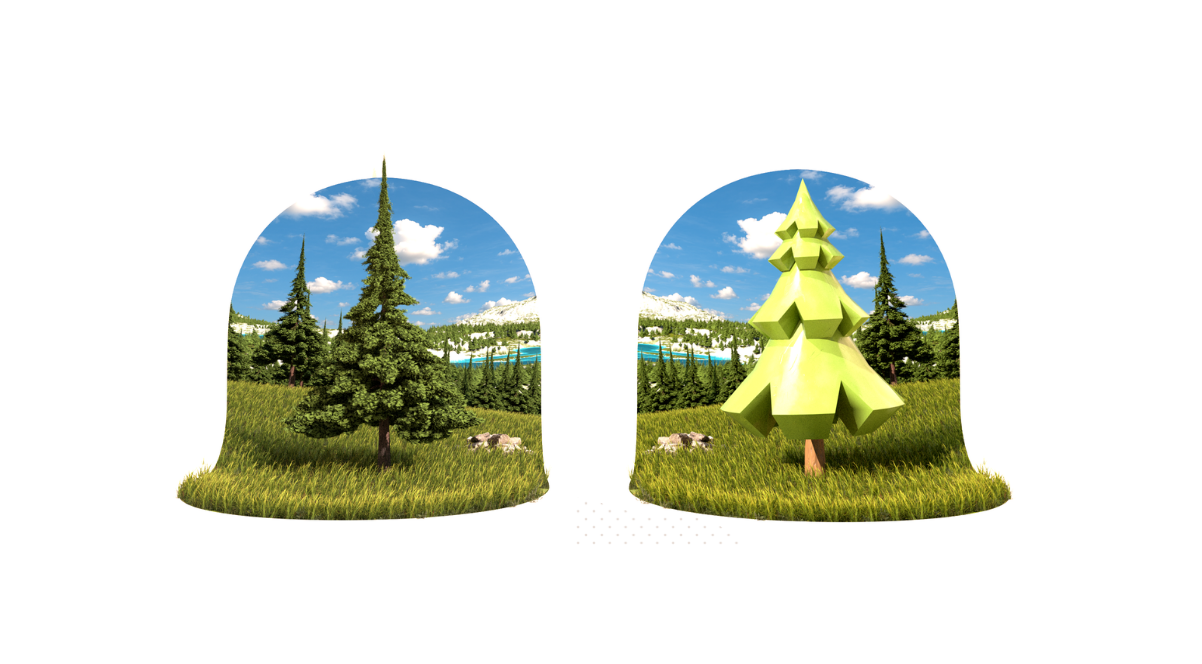 We take a look at TreeDesigner, a Geometry Nodes-based tool by Alexis Eginard that enables procedural tree creation in Blender, along with a library of 400 customizable tree assets.
 -
 We take a look at Scatter by KIRI Engine, a free Blender addon that offers manual placement, Geometry Nodes scattering, and physics-based distribution in a single workflow.
 -
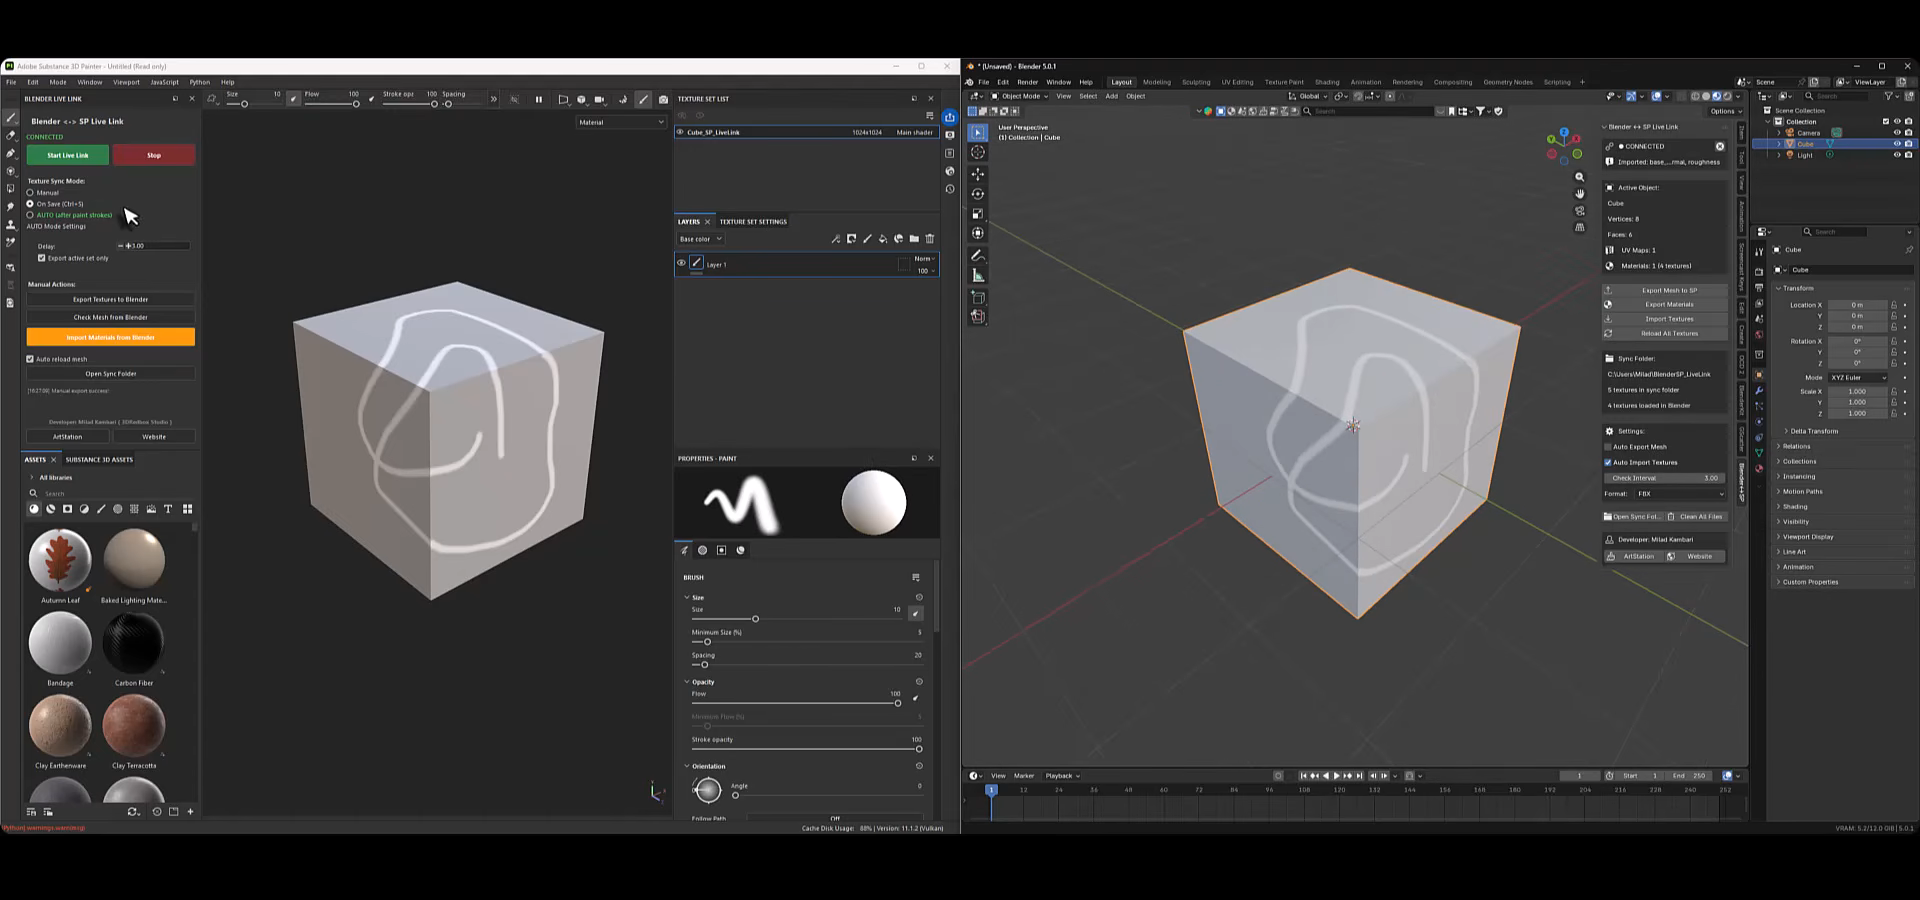 We take a look at Blender to Substance Painter Live Link Plugin, a tool by Milad Kambari that connects both applications through a real-time geometry and material sync workflow.
