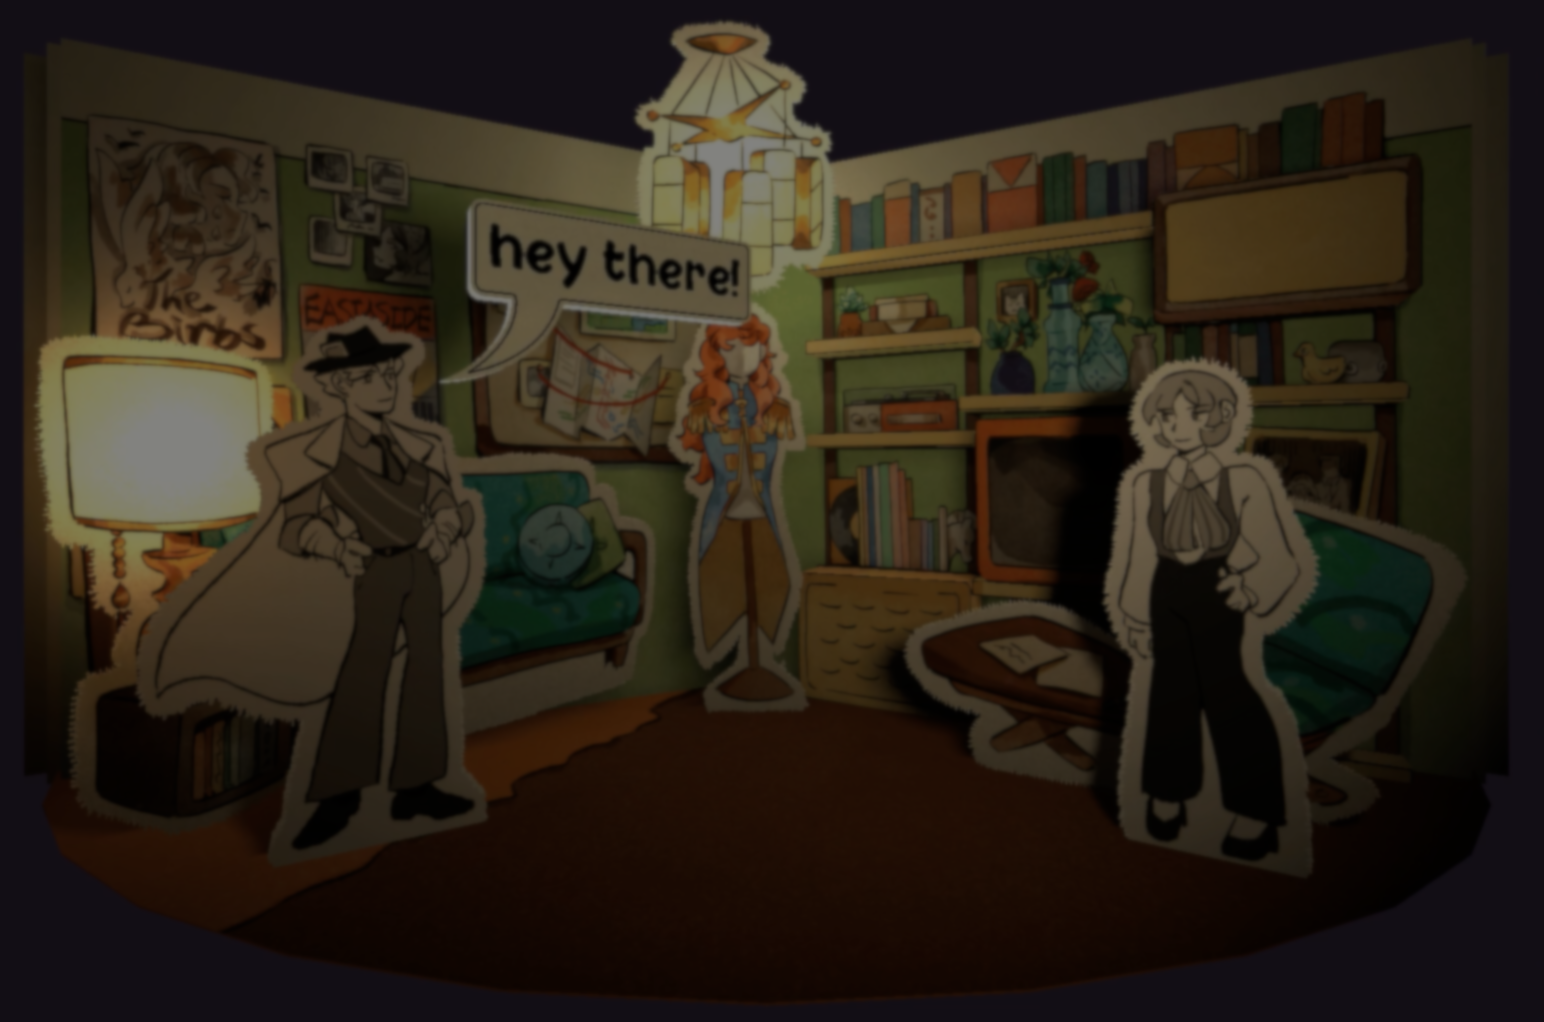
A few days ago, I came across a post showing a “dynamic 3D speech bubble” in a Godot visual novel. It is supposed to be a small visual detail for the novel, but it stood out right away for me.
After reaching out, Alex Shearer from Debt Detectives’s team shared how they built the system for their upcoming project Paper Thin.
Alex explained that the team works on the project in their spare time, so they try to reuse existing tools whenever possible.
For example, to make the dialogue they started with the open-source plugin Dialogic, then extended it from there to fit their needs instead of building everything from scratch.
One of their first decisions around the visual novel was to give all characters a bit of depth, instead of flat sprites, everything exists as 3D meshes.
That meant they needed a way to turn 2D artwork into geometry. After some testing, they went with Godot’s Polygon2D to extract the outline of each sprite, then give that shape depth using CSGPolygon.
Once that was in place, the next challenge was the text. Godot has a native option for this, the Label3D node, but it doesn’t support BBCode effects. Those only work in RichTextLabel, which is a 2D node.
They came up with an idea to solve this: Render the text inside a SubViewport, then display that texture on a 3D mesh. That way, they keep all the text effects.
At this point everything was working, but there was still one problem: the text looked blurry. The issue came from the resolution of the SubViewport.
At this point everything was working, but there was still one problem: the text looked blurry. The issue came from the resolution of the SubViewport.
Increasing the resolution was not an option, since it would mean a higher cost overall. Instead, they switched to multi-channel signed distance fields (MSDF).
With MSDF, the text stays clear even at lower resolutions, so they can keep the file lightweight without making the text harder to read.
With the text sorted out, the next step was building the speech bubble itself. This is split into two parts: the balloon that holds the text, and the tail that points to the character.
The tail is built using Curve2D, which creates a curved line that can be adjusted directly in the editor. To control where it points, they extended Dialogic’s portrait system so each character has a small guide that defines where the tail should connect.
Once both shapes are ready, they merge them using Geometry2D, and use the same set of functions to generate the border. Alex told me that keeping the balloon and tail separate makes it easy to change the shape later without breaking anything.
One last small detail Alex wanted me to mention was the use of tweens. They use them throughout the system to animate changes and add subtle motion. As he put it,
One last small detail Alex wanted me to mention was the use of tweens. They use them throughout the system to animate changes and add subtle motion. As he put it,
"I can not overstate how important learning and using tweens is to creating visual interest and polish.”
You can see more work or updates from Alex and team in the links below.
- Team Debt Detectives on BlueSky: https://bsky.app/profile/debtdetectives.bsky.social
- Alex’s Itchio: https://anxioussky.itch.io/
Interested in learning more?
If you are interested in shaders and the math behind game visuals, the Shaders Bible Collection brings together six books covering shader programming, procedural shapes, and core math concepts in Unity and Godot.
This is for developers, students, and creatives who want a better understanding of shaders, strengthen their fundamentals, and improve the visual quality of their projects.
Jettelly wishes you success in your professional career!
Did you find an error? No worries!
Write to us at [email protected], and we'll fix it!
Level up your Technical Art! Grab our bundle and start learning today.
We invite you to explore "The Shaders Bible Collection", a comprehensive bundle on the concepts and fundamentals seen in this post.
Other posts that might interest you.
-
 Godot 4.7 has now entered beta, bringing HDR support, a new Asset Store, rendering improvements, and additional tools for level creation and shader development.
 -
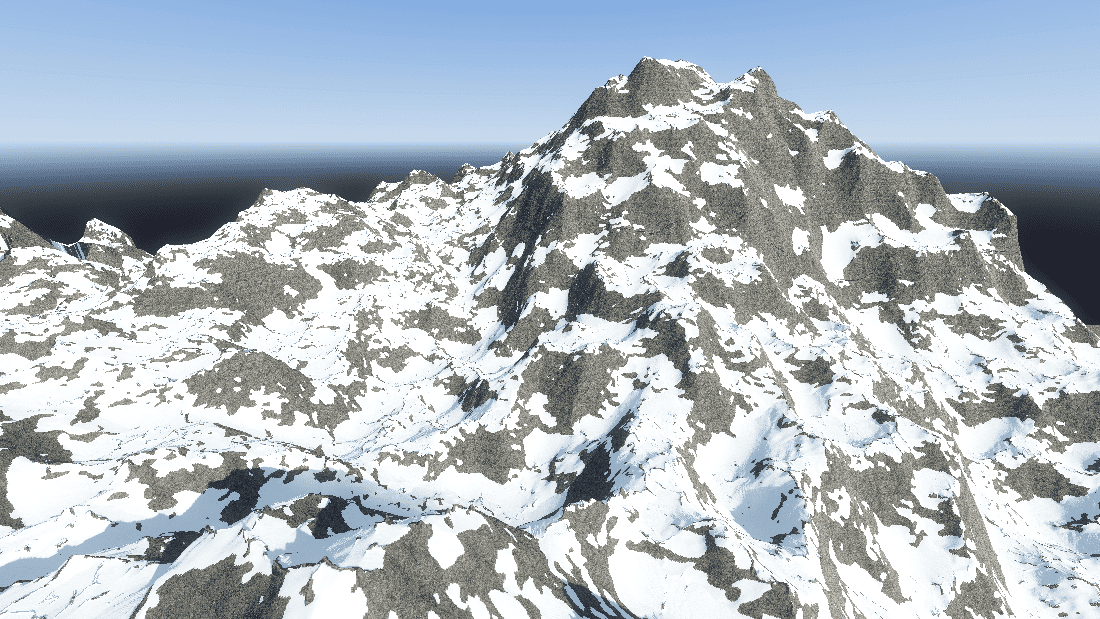 Check out SimpleXTerrain, a free and open-source node-based world generator for Godot 4 made by Prajwal.
 -
 Learn how Developer Tiberiu Stefan made their transforming wall effect for Psych Rift using Vertex Animation Textures in Godot.
