
Recreating a Mega Man Charged Shot in Unreal.
by Vicente C.
Published |
168
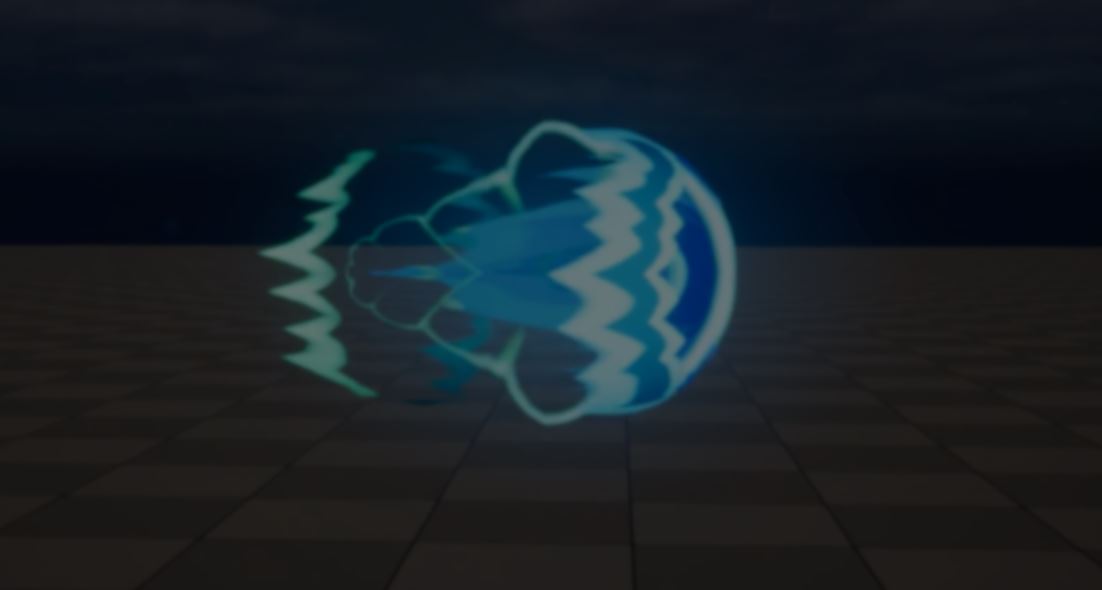
While his brother was visiting him in Canada, Gregory Silva started helping him learn VFX through Mega Man X studies. Gregory joined in with a charged shot of his own, recreating the look of a 2D effect using 3D meshes and shaders in Unreal.
He worked from a sprite sheet, simplifying the shader shapes and details to keep them readable beneath his CRT post-process filter. Small shapes and fine detail could become visual noise once pixelated. He also focused on a side view, with less attention to how the effect looked from the front.
Gregory built the core around a sphere that pulses and shakes through scale animation. A glow card follows it to brighten the center.
Around that core, a rounded mesh with a pointed tail gives the shot its main shape. A horizontally scrolling texture masks the edges while keeping the rounded front and center intact.
To find that central region, Gregory uses a dot product between the camera vector and the mesh tangents. He calls this mask “Tangent Fresnel” and reuses it for the surrounding layers.
For the plasma around the body, he uses a slightly larger mesh. A Fresnel creates a thin border, while scrolling gradients move that border in waves. Those gradients also form lines inside the effect, which the tangent mask bends toward the front while controlling their opacity.
The energy rings reuse the body mesh, scaled up and stretched. Gregory uses the tangent mask again to offset their front and back portions in opposite directions. This fakes a tilted perspective, keeping the back of each ring visible from the side.
To finish the effect, Gregory adds glow cards and small particles trailing behind the shot. He animates it in Niagara, using user parameters to adjust travel distance, speed and timing.
- Artist: Gregory Silva on ArtStation
- Reference: Sprite sheet
- Breakdown: Gregory Silva - Mega Man Charged Shot VFX
Interested in more?
Learn to create shaders in Unity and Godot with our Shaders Bible Collection, featuring 1,100+ pages of step-by-step explanations and practical examples.
Getting into shaders or trying to make your game look better? 👀 Check out our new 6-book bundle for Unity & Godot.
— Jettelly Inc. (@jettelly) April 4, 2026
From math basics to building your own VFX ✨ https://t.co/hnkVeV5Sa0#unity3d #godot #realtimevfx pic.twitter.com/z8xXcfVjw9
Jettelly wishes you success in your professional career!
Did you find an error? No worries!
Write to us at [email protected], and we'll fix it!
Other posts that might interest you.
-
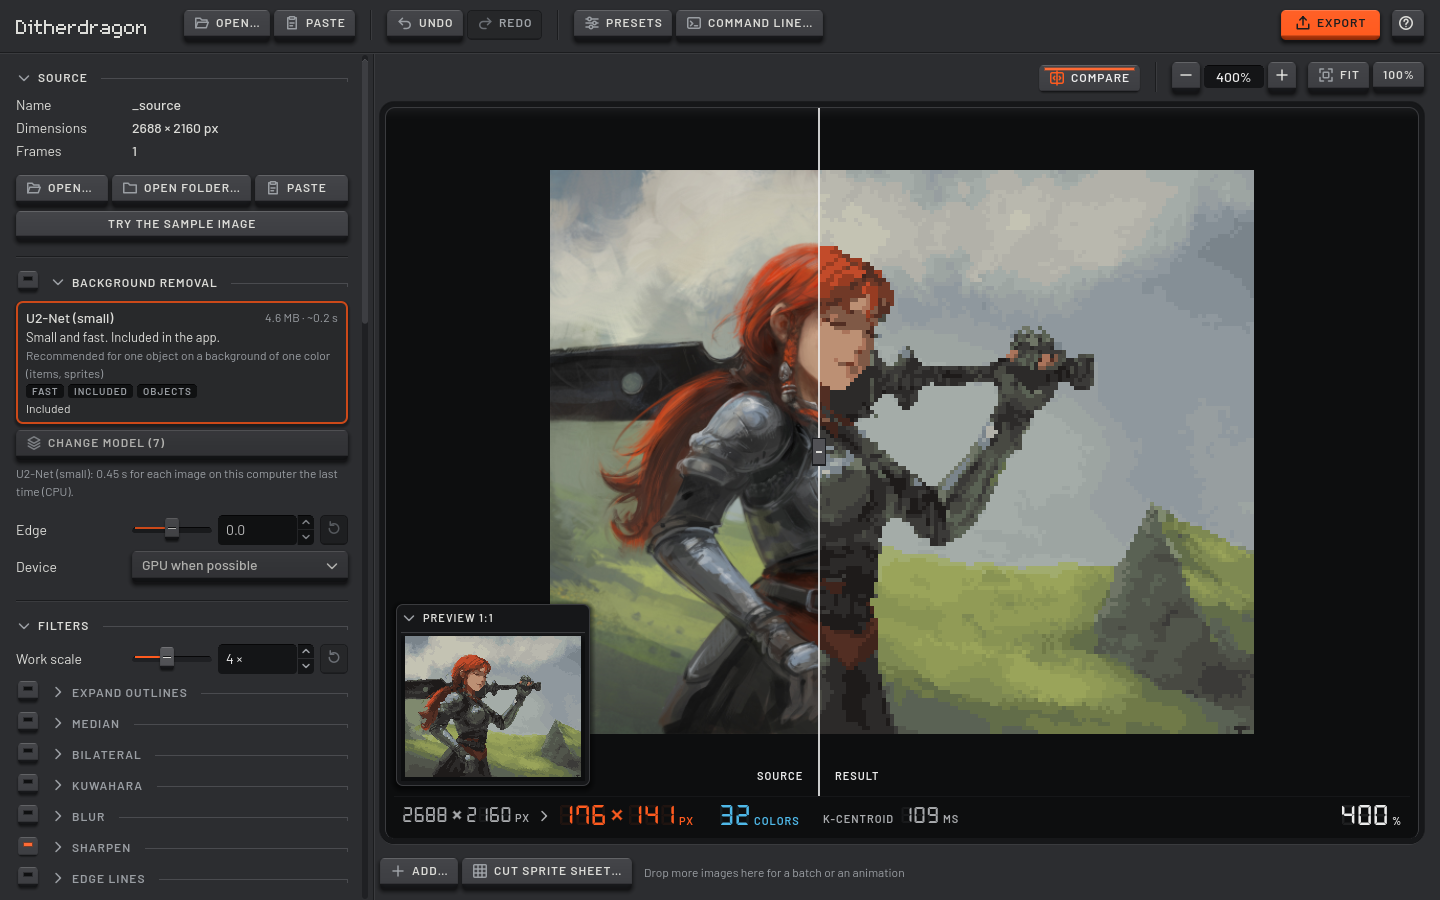 Ditherdragon turns 3D renders and other images into pixel sprites. Winterveil rebuilt the tool to keep small details visible and animations consistent across frames.
 -
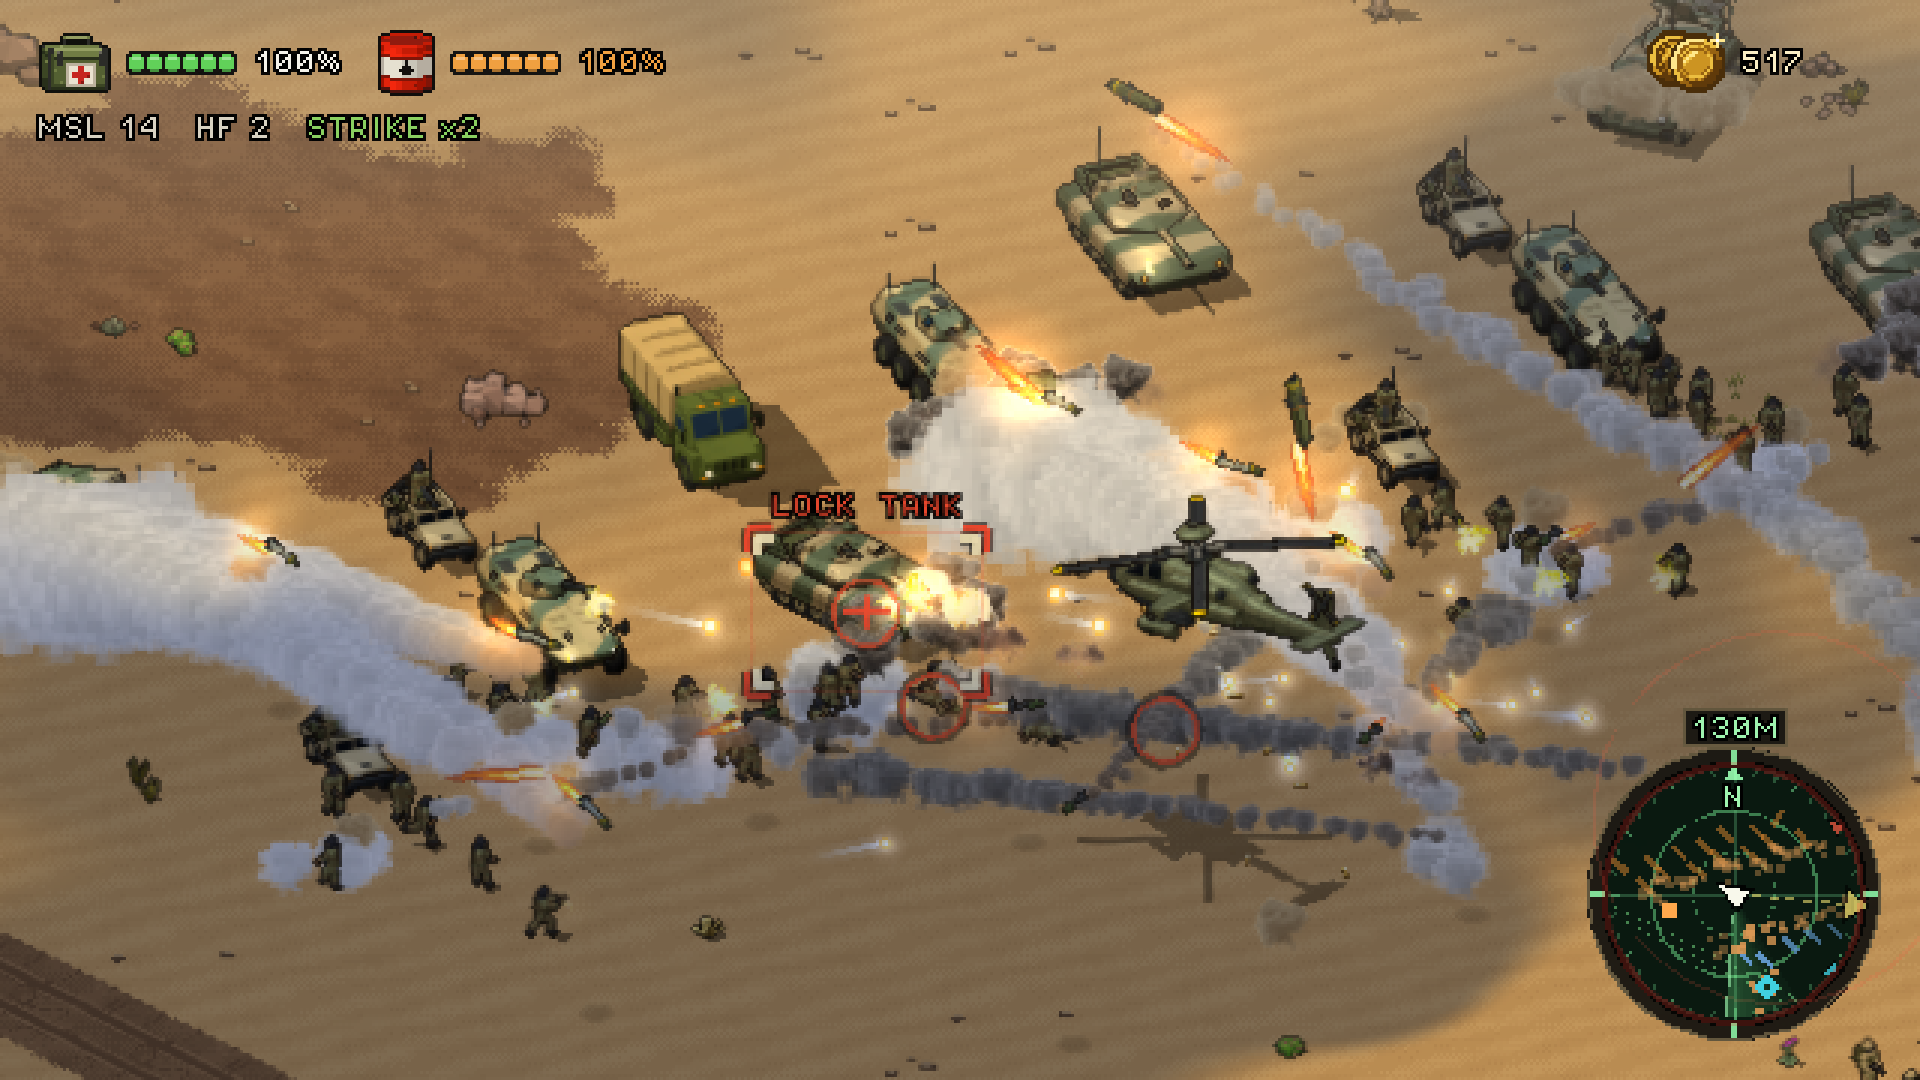 Sand Hawk puts hundreds of soldiers into a battle that keeps going beyond the player’s helicopter. Creator Ivan Belačić shares how he runs it in Godot.
 -
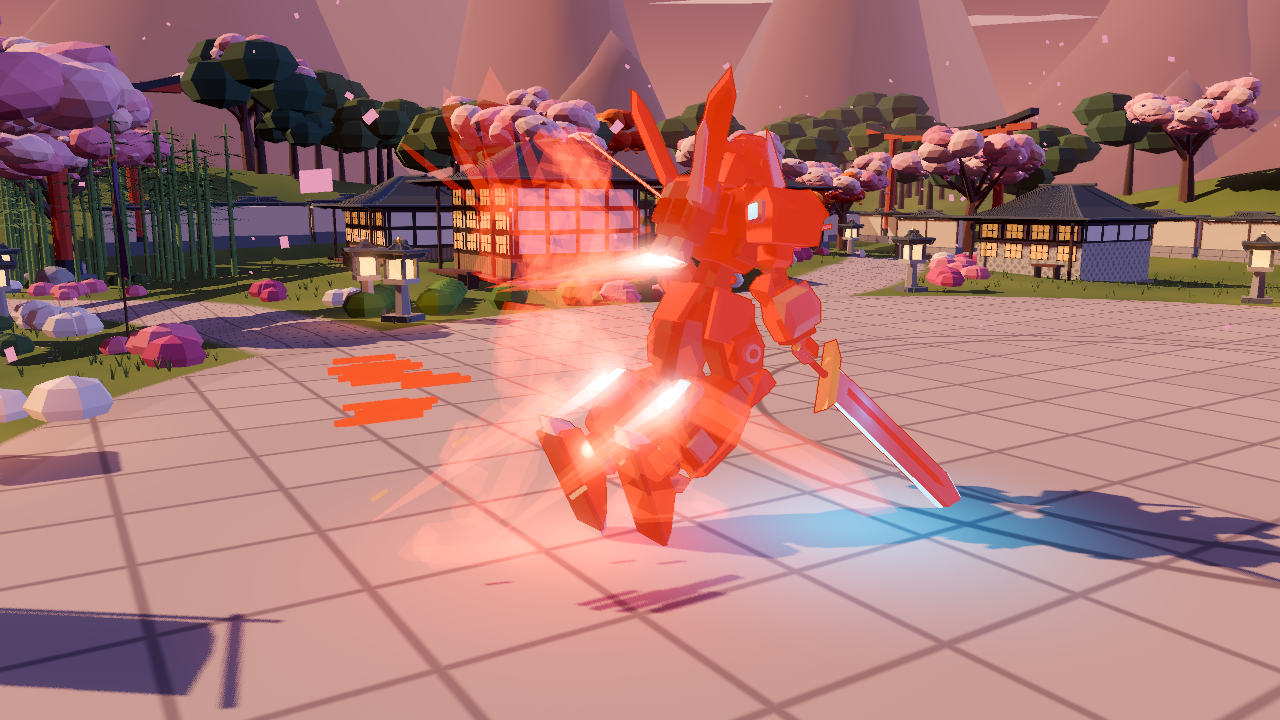 The mech in Mecha Striker can dash, slide and bunny hop across the arena. Tory Nguyen shares how he tuned the movement and made each action easy to read.
