
Maya MeshBlend: Blending 3D Assets with Terrain in Real Time.
by Vicente C.
Published |
9
Tech Artist Louis Cresson gave us a breakdown of his latest Maya tool, MeshBlend v10, built to solve a common problem in 3D environment work.
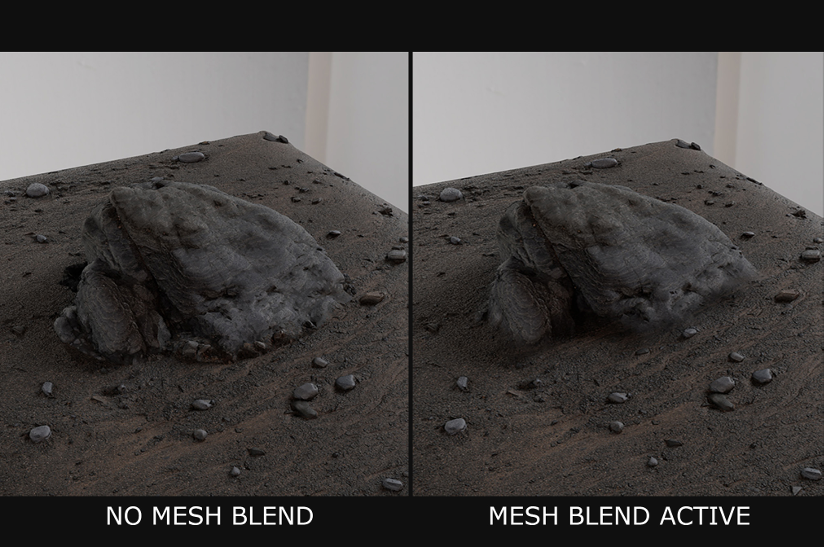
When working with 3D terrain modelling, as one tries to attach assets like rocks or props onto terrain, the base of those objects often looks disconnected from the ground. Fixing this manually means painting vertex colors by hand or setting up transitions, which can be repetitive.
MeshBlend automates the process. The tool reshapes the geometry of each object to match the terrain underneath. It also creates a shader (used to blend the textures together) to hide the seam between both surfaces.
Here is how it works:
- Pick Target: select the ground or terrain mesh
- Add Sources: add the assets to blend (rocks, pillars, debris)
- Apply Blend: generates the blend
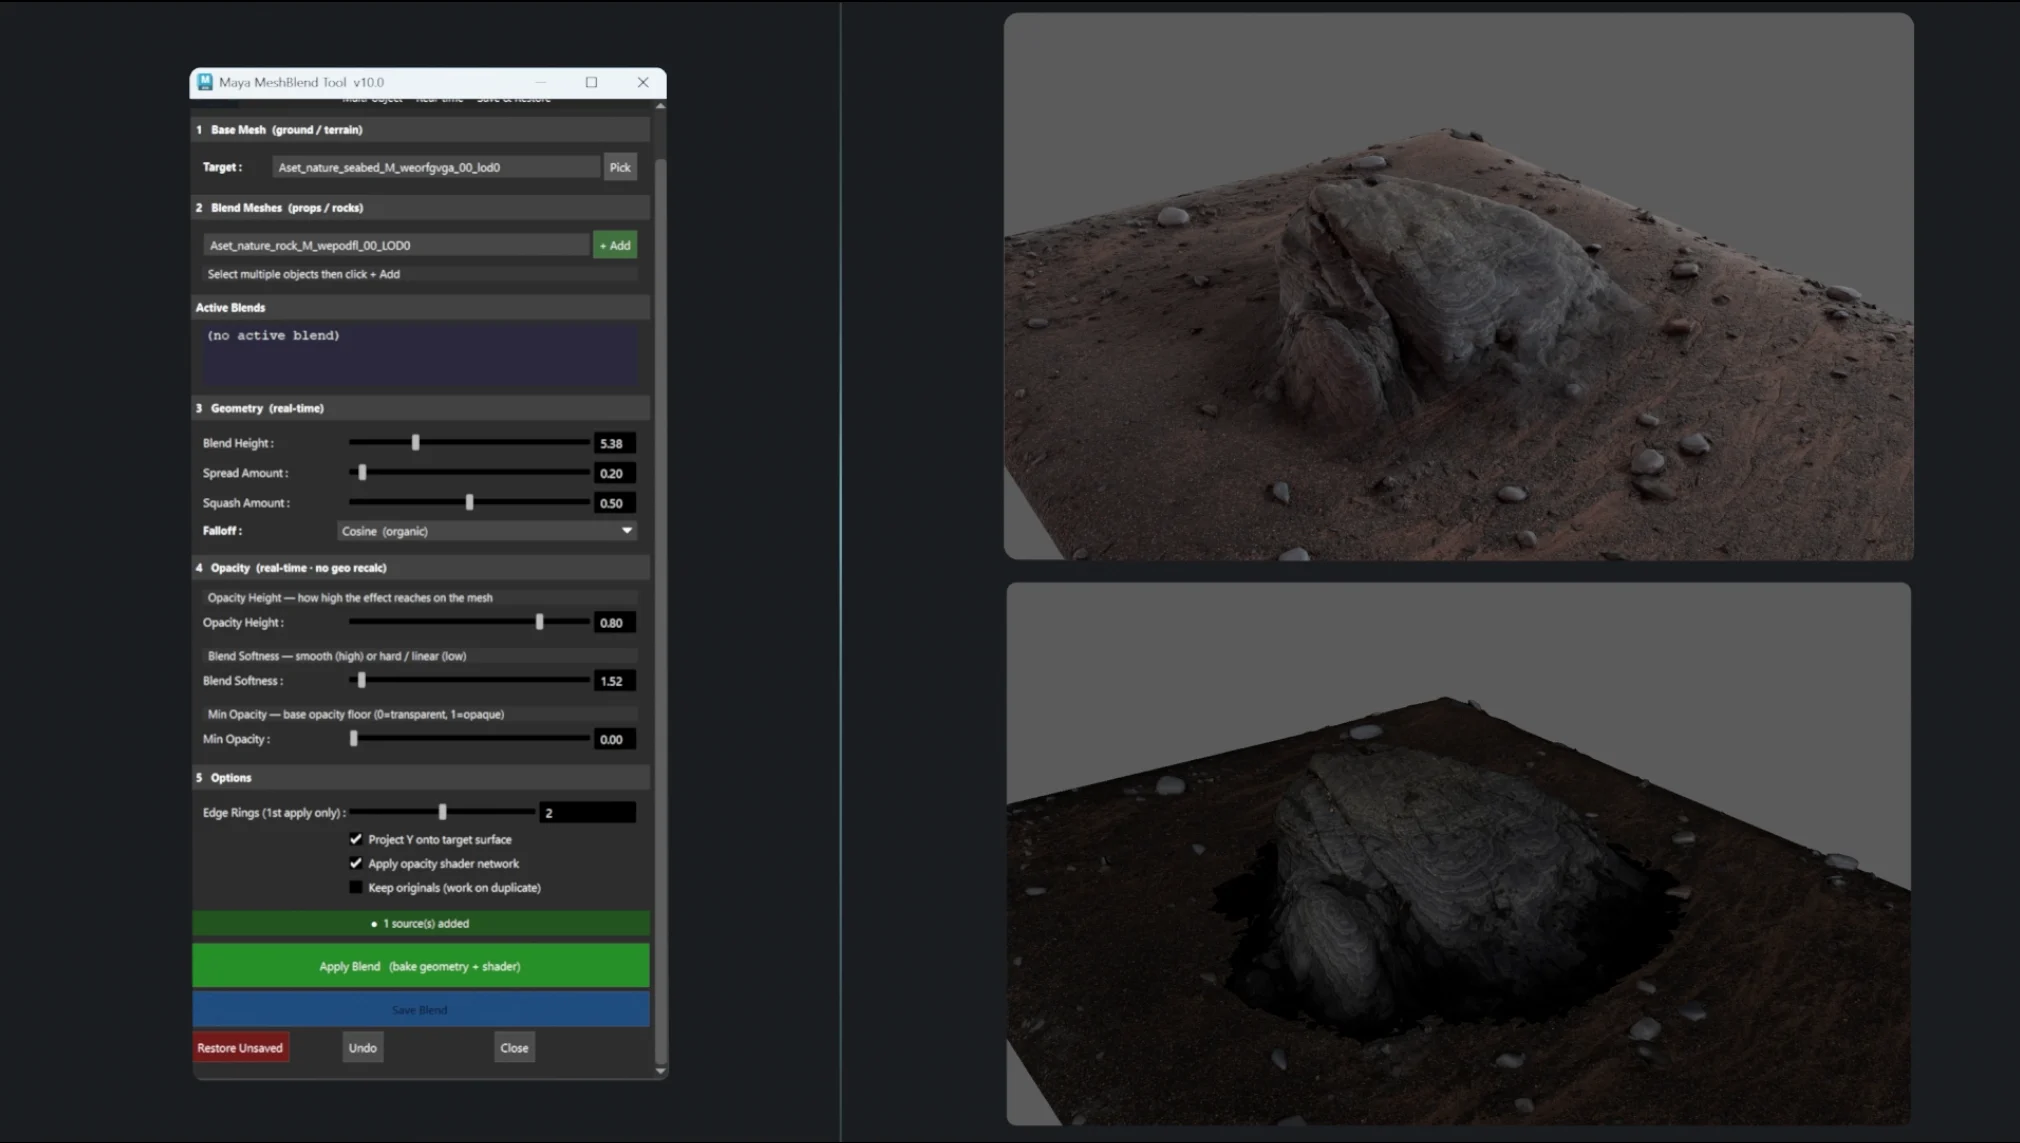
Once the blend is made, a set of sliders lets you adjust the result in real time:
- Blend Height: controls how high the blend travels up the asset
- Spread / Squash: changes how much the base expands or compresses against the terrain
- Texture Fading: controls how soft the texture transition becomes
Under the hood, MeshBlend uses a Python data structure that tracks the original state of every mesh in the scene. This allows the tool to return assets to their original state if needed.
# Per-mesh state registry

_blend_registry[mesh] = {
    "base_pos"     : original vtx positions post-rings
    "sr_node"      : setRange node for height opacity
    "md_node"      : multiplyDivide node for softness
    "sr2_node"     : setRange2 node for floor threshold
    "opacity_attrs": [(node, attr), ...] original connections
    "saved"        : bool flag
}
Before an asset can blend into the terrain, the mesh needs enough geometry around the area that is being modified.
Louis refers to this step as edge ring densification. MeshBlend analyzes the asset and adds supporting edge loops near the base, giving the mesh enough vertices to deform better along the blend area.
def add_rings(mesh, blend_height, count):
    if count <= 0:
        return
    bbox = cmds.exactWorldBoundingBox(mesh)
    y_min = bbox[1]
    span = max(bbox[4] - y_min, 0.001)
    for k in range(1, count + 1):
        target_y = y_min + blend_height * (k / (count + 1))
        weight = max(0.05, min(0.95, (target_y - y_min) / span))
        # ... injection routine using cmds.polySplitRing
MeshBlend does this by casting rays toward the ground surface and using the results to reposition the vertices. There are different falloff modes that change how soft the transition looks.
The tool can also push the vertices outward slightly to create the appearance of dirt building up around the base.
src = om.MFloatPoint(x, start_y + 2.0, z)
d   = om.MFloatVector(0.0, -1.0, 0.0)
hit = fn.closestIntersection(src, d, om.MSpace.kWorld, search_range, False)
if hit and hit[0] is not None:
    return hit[0].y
The shader side has its own challenge. If more than one rock or prop share the same material, changing the blend on one object should not affect all the others.
To avoid that, the tool creates a separate copy of the shader for each asset before applying any opacity changes.
duped = cmds.duplicate(sh, upstreamNodes=True) or []
new_sh = next((n for n in duped if cmds.nodeType(n) == sh_type_orig), None)
if new_sh:
    new_sh = cmds.rename(new_sh, n + '_mat')
Once each asset has its own shader, MeshBlend creates the texture transition using the height of the mesh as a reference.
This means the blend starts near the base and gradually fades out going toward the rest of the asset.
si  = cmds.shadingNode('samplerInfo',    asUtility=True, name=n + '_si')
sr  = cmds.shadingNode('setRange',       asUtility=True, name=n + '_sr')
md  = cmds.shadingNode('multiplyDivide', asUtility=True, name=n + '_md')
cmds.connectAttr(si + '.pointWorldY', sr + '.valueX', force=True)
The tool also has an automated cleanup in case you restore an asset. It removes any unused shader nodes left behind, helping keep the scene clean.
If you want to see more from Louis Cresson and his projects, you can find the links right below.
Interested in learning more?
If you’re interested in the technical side of Unity? The Unity Dev Bundle brings together six books covering shaders, math, procedural shapes, editor tools, and character customization.
This is for developers and technical artists who want to build a stronger foundation and work with more advanced graphics and systems in their projects.
Hey guys, the Technical Art Unity Bundle is 70% OFF 🎁 https://t.co/1eA8907m5M#gamedev pic.twitter.com/KSY2xfp9ud
— Shaders Bible Series (@ushadersbible) May 29, 2026
Jettelly wishes you success in your professional career!
Did you find an error? No worries!
Write to us at [email protected], and we'll fix it!

Level up your games in Unity with this bundle!
We invite you to explore "The Unity Dev Bundle", a comprehensive bundle on the concepts and fundamentals seen in this post.
Other posts that might interest you.
-
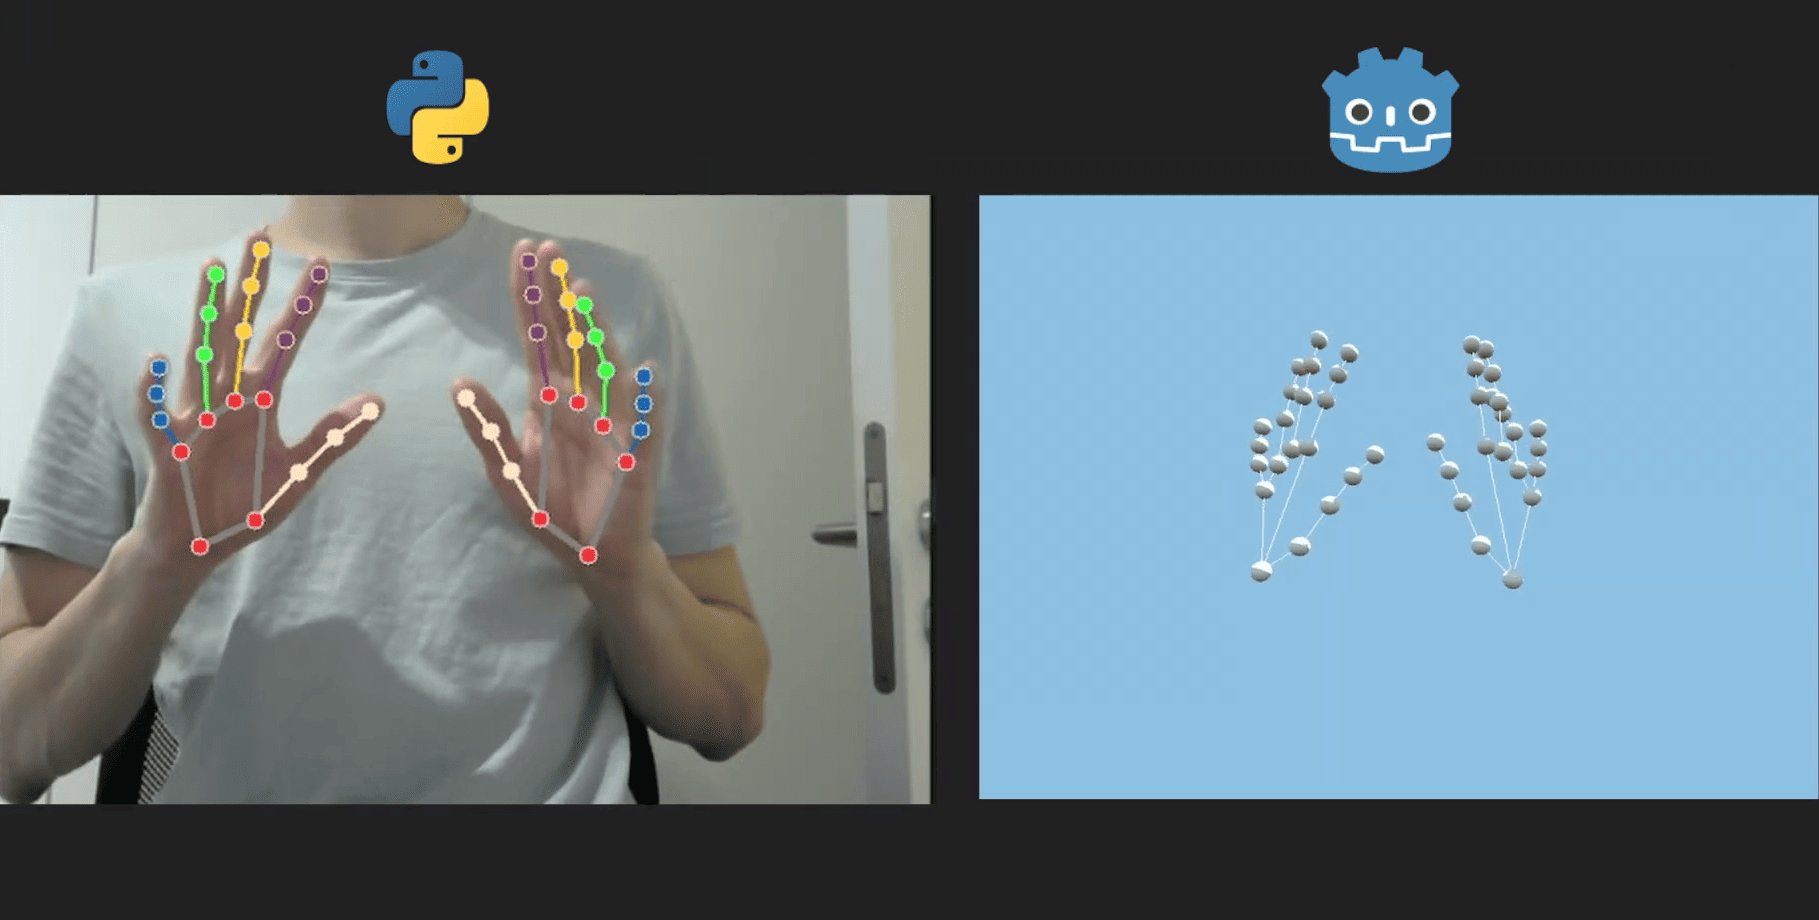 Developer Florian Trautweiler shared how he used Python, MediaPipe, and Godot to create real-time 3D hand tracking using just a webcam.
 -
 Mingdosa shared some technical details behind OmniBuilder, a Godot plugin focused on making level design feel more interactive and game-like
 -
 Check out FelixarStudio’s new retro FPS weapon system that uses Godot Custom Resources and a single Weapon Manager to create different weapons.
